My Mom requested an Easter wreath, but I don't think she knew what she was in for. This wreath is jam packed with bright spring colors and sparkle. The only way to add more Easter to this wreath would be to wire the Easter Bunny himself to it. **Note: I do not condone wiring rabbits to wreath frames unless they are stuffed!
Deco mesh seems to be all the rage when it comes to wreaths lately, and its a great material to work with. Now that deco mesh is available in a wide range of colors, sizes, and even fabric types, you can create a wreath for any occasion quickly and easily. Once you get to basic steps down you will be a wreath making force to be reckoned with!

Supplies
11.5" diameter wire wreath frame
24" x 10 yard deco mesh
1 1/2" x 3 yard wired edge ribbon
4 Easter eggs on sticks
twist ties

Start by gathering the end of the mesh together and forming a loop. Using a twist tie, wire the loop to the outside of the wreath frame. The larger you make the loops the larger your wreath will end up being. Keep in mind that larger loops with also require more mesh and you may run out before you finish if the loops are too large. I made my loops approximately 5 inches tall.
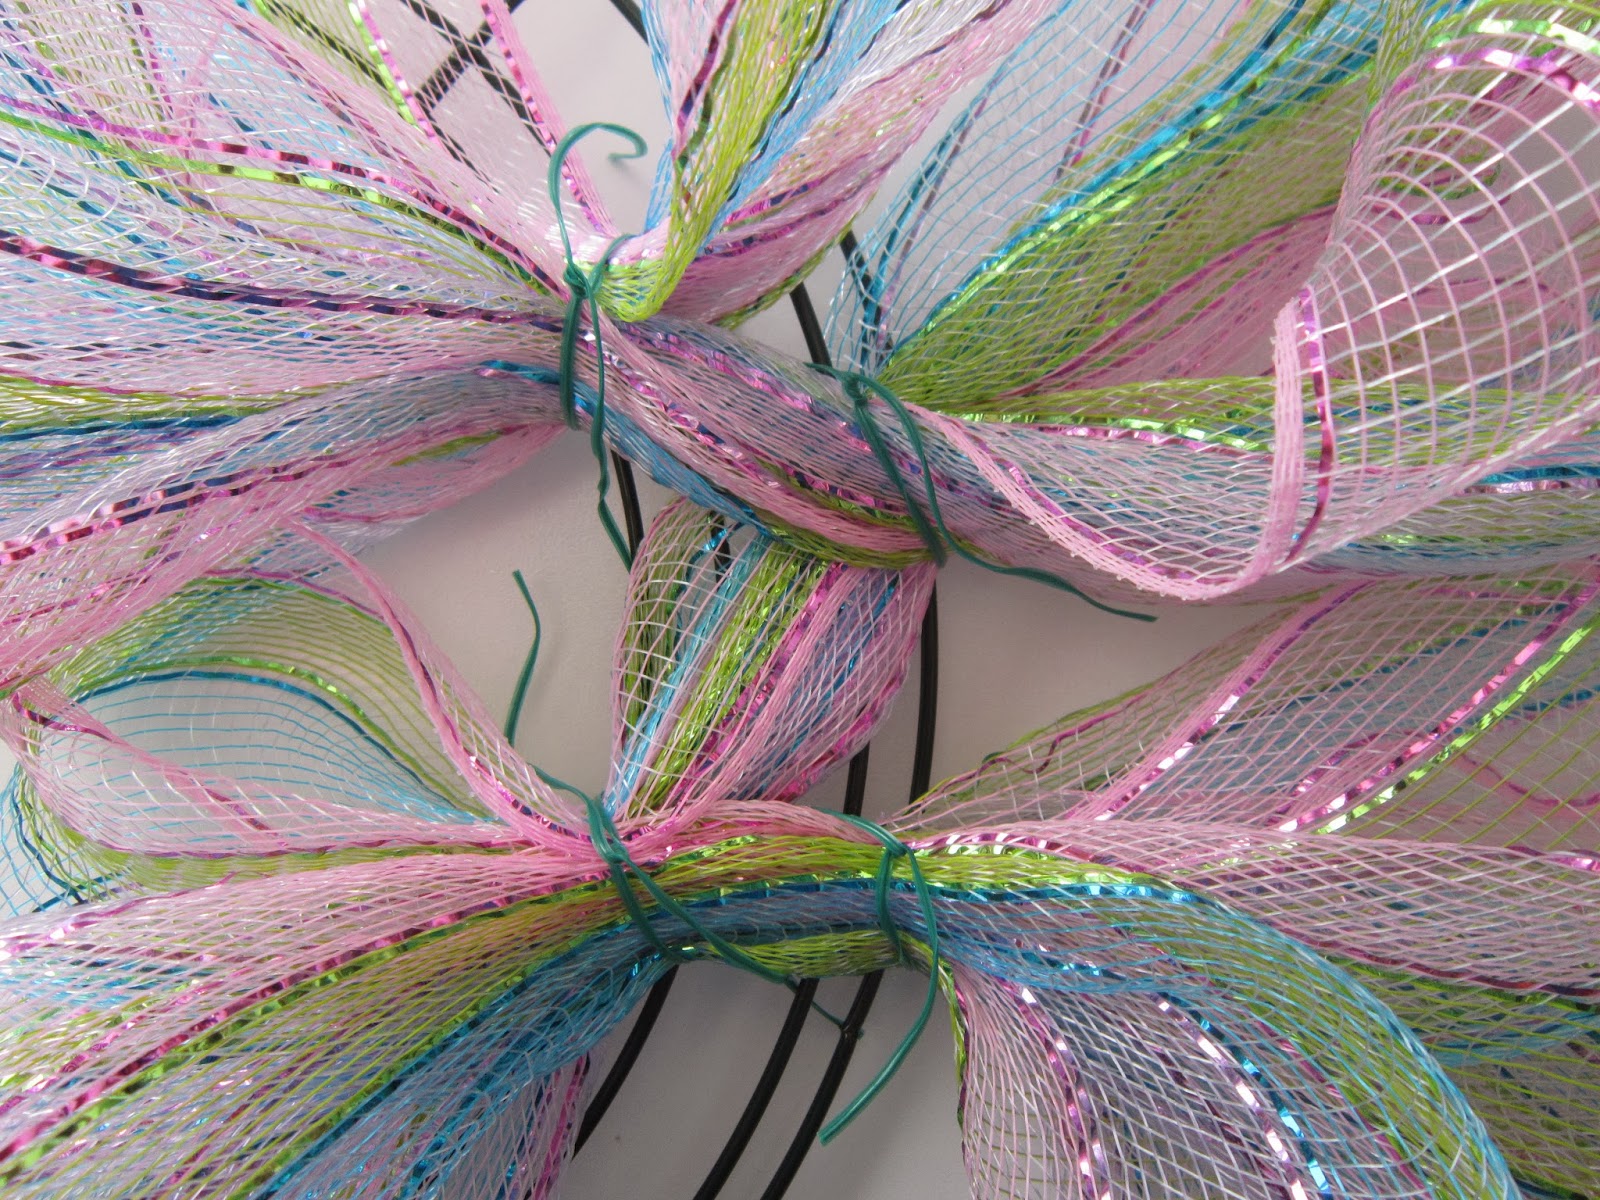
Form another loop with the mesh and wire it to the inside of the frame. Continue forming loops and alternating between the inside and the outside of the frame until the entire frame is filled with loops. The more loops you have the fuller your wreath will be in the end. If you have mesh left over at the end, trim it off once you have formed and wired your last loop.

Now It's time to lift and separate! Spread out and fluff the loops so that all of the attachment points are covered. Don't worry about being gentle, your wreath will actually look better if you're a little rougher with it. This mesh is very durable and can stand up to some serious pulling and scrunching. Keep arranging and manipulating the loops until you are happy with the shape and fullness.
Group your eggs together and wire the sticks together. Attach the cluster of eggs to the wreath using a twist tie. I wired mine in a location that was a little less full than the rest of the wreath as the eggs and the bow will camouflage it.

Tie a bow in the centre of the ribbon. The wire edge allows you to manipulate the ribbon so that the right side of the ribbon is showing on both loops as well as the tails. Insert a twist tie into the back of the ribbon and attach it to the wreath at the base of the egg cluster.

Once the ribbon is attached to the wreath you can then decide on how long you want the tails to be. I prefer to cut my ribbons in a fish tail end rather than in a straight line. To cut the fish tail, fold the ribbon in half length wise. Cut on an angle with the highest point being on the folded side. This will give you a perfect fish tail every time!

There you have it! A wreath bursting with so much Easter that even the Easter Bunny himself would be taken aback. Mom is going to love this wreath! If her visitors aren't smiling already from the warm temperatures, they definitely will be after seeing this wreath. If they aren't, well clearly they are the Easter version of Scrooge and they should loosen up and eat a Peep!
No comments:
Post a Comment