A cakes sole purpose is to be eaten and enjoyed by people. It seems a little unfair that this cake will never reach it's full potential. On the other hand, maybe it's better to not be eaten at all? Well this cake wasn't exactly eaten but it was definitely mangled and it absolutely brought joy to one little boy! Not to mention that I got some great photos out of the deal!
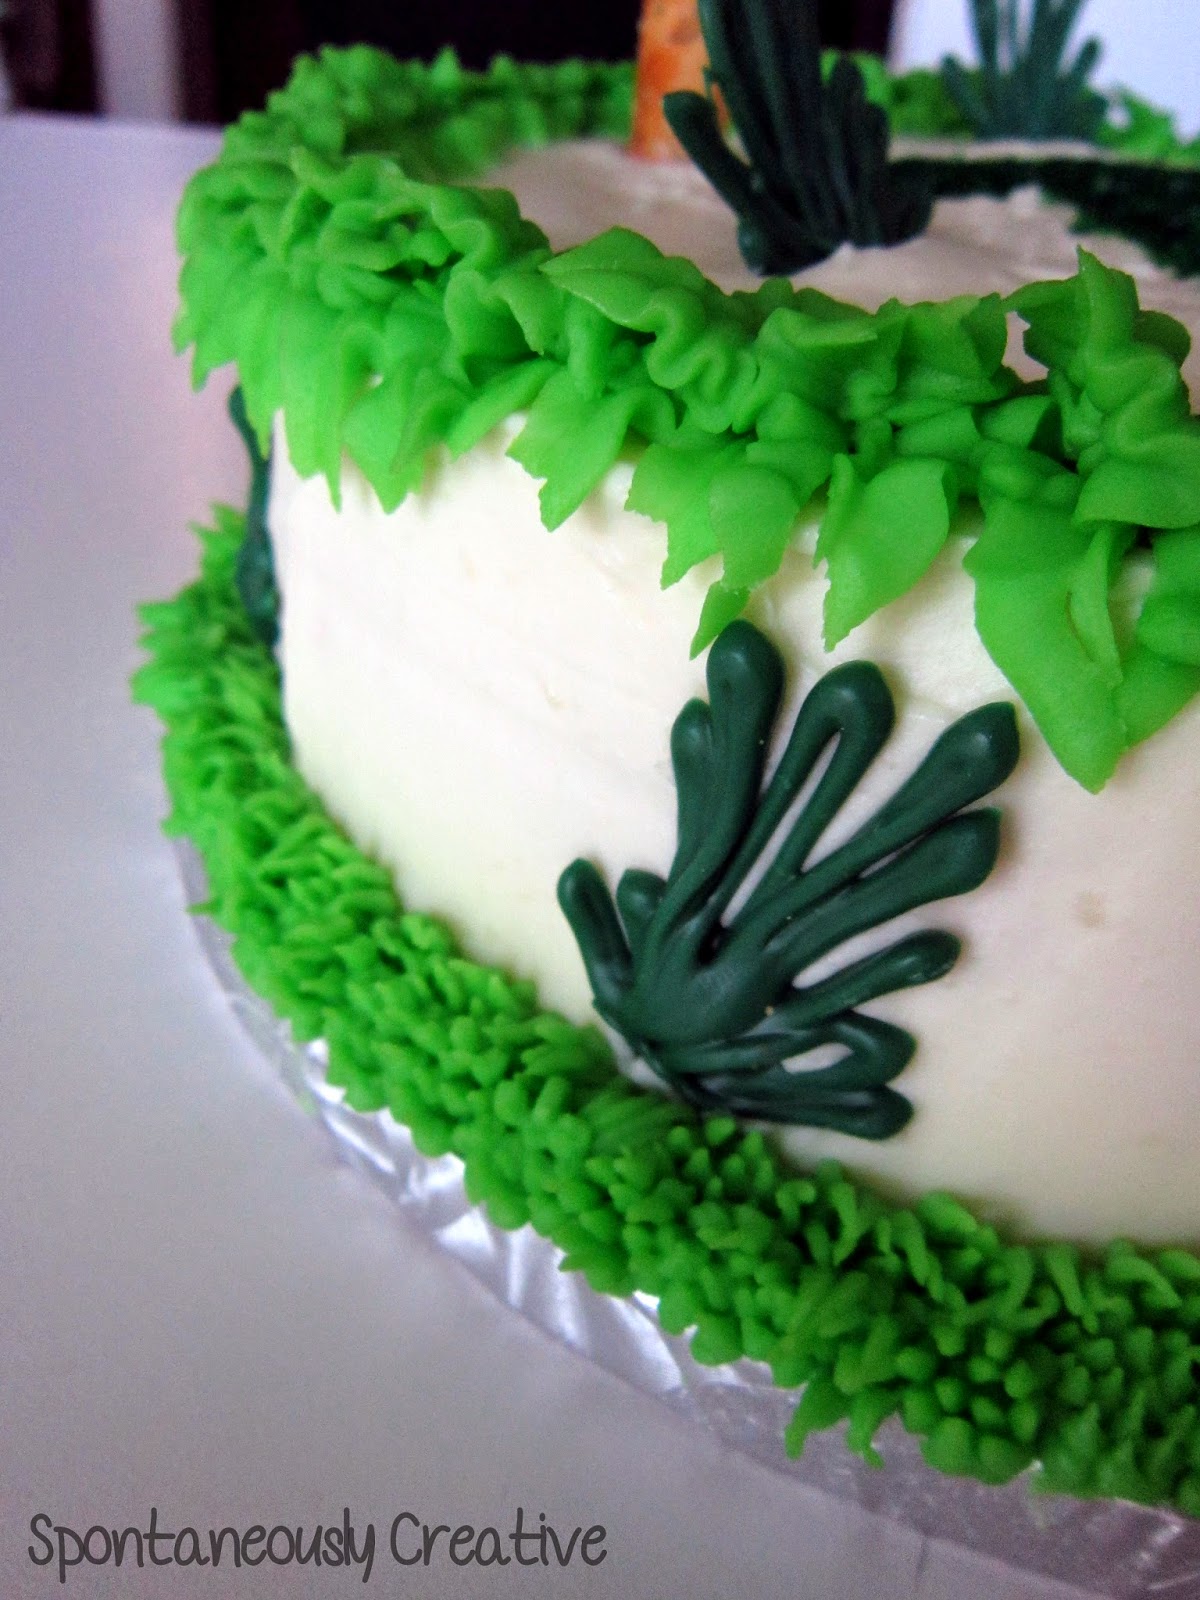
The cake itself is a vanilla cake and has less sugar than a traditional cake. I wasn't sure how much cake Roman was actually going to get so I wanted to make sure it wasn't overly sugary. The base icing is a Whipped Cream Frosting. This frosting is quite possibly one of the most delicious frostings I have ever made! My Mom who was gracious enough, along with my Dad, to watch Roman while I decorated this cake, helped me to finish off the leftover icing. *TIP - always know when to stop yourself fro eating the icing..... For the grass and leaves I used my go to buttercream icing that I colored green with Wilton's Leaf Green gel color. The buttercream icing has a thicker consistency that dries stiffer which works perfectly with the delicate design of the leaves and grass. If you are piping shells or a simple swirl, you could absolutely use the whipped cream icing to pipe with.
For the number 1 in the centre of the cake I used a template and some decorative sugar. Find a font that you like and print out a large number 1 on card stock. Cut the 1 out leaving a 1 shaped void in the centre of the card stock. Lay the template down on the cake and sprinkle the sugar over the open area. Lightly press the sugar onto the cake and then slowly lift the template off. If there is any disturbance to the icing simply smooth it out with a spatula. This technique could be used for any number of shapes to coincide with any occasion or theme.
My favorite part of the cake is the palm trees. I came across this photo on Pinterest and I instantly knew that I wanted to recreate the tree for Roman's smash cake. *TIP - not only do tall items like trees or candles look great on a smash cake, but they also help keep the child's interest on the cake and give them an incentive to touch the cake! I started by melting some green chocolate disks on the stove and spooning it into a disposable piping bag. *TIP - using a disposable piping bag not only makes clean up easier, but because you snip your own tip you can control how much chocolate will be flowing from the piping bag. Lay a chocolate disk down on some parchment paper and drizzle the melted chocolate over it. Once the chocolate has hardened, squeeze a large blob onto the end of a pretzel or sesame stick. Then attach the tree top to the stick and allow to dry. *TIP - if your chocolate hardens in the piping bag before you can attach the top, just pop the piping mag in the microwave for a few seconds to re-melt the chocolate. For the bushes drizzle the melted chocolate onto the parchment paper in the shape of a bush and let it harden. Then just pop it off and stick in on the cake!
This may seem like a lot of work for a cake that will never be all that it can be, but I truly love decorating cakes, especially if they are for my little man! Not to mention that I'll have these pictures forever and I know if the cake wasn't what I had envisioned or was too plain, it would drive me crazy every time I looked at the photos. That being said, this picture still makes my chest tighten just a bit....


You did an AMAZING job on this cake! Definitely a lot of work, but well worth it. Roman obviously loved it and that's what counts. Don't get too sad yet, mommy, he's still 11 months for 16 more days!!! (That's 384 hours. Ish. If the big number helps at all?)
ReplyDeleteThank you!! That number makes me feel a little better!
Delete